
When you run sh start.sh via ADB, the resulting process inherits the permissions of the shell user, which has significantly more power than a standard app but less than root .
Despite the apparent simplicity, users often encounter errors when trying to start Shizuku, especially the dreaded Permission denied error. Here are the most common reasons and solutions.
Enable (Tap "Build Number" 7 times in Settings > About Phone). Enable USB Debugging in Developer Options. 2. Connect Your Device Connect your phone to your PC via USB. Open a terminal/command prompt on your computer. Verify the connection by running: adb devices . 3. Execute the Command Copy and paste the following command into your terminal:
(run from PC)
A typo of start.sh , the native script file built by developers to spin up the Shizuku backend server. upd
Running a shell script stored in /android/data/ might raise red flags for the security-conscious. Let’s address the risks.
If you do not have a computer, you can run this command locally using a terminal emulator like Termux alongside Android's Wireless Debugging feature. When you run sh start
On your Android device, go to and tap Build number seven times. Then, go to Settings > System > Developer options and toggle on USB debugging . 2. Set Up ADB on Your Computer
: Tells your computer to open a shell session on your connected Android device.
| Part | Meaning | |------|---------| | adb shell | Open a shell on the connected Android device | | sh | Execute the POSIX shell | | /storage/emulated/0/Android/data/moe.shizuku.privileged.api/startsh | Path to a script inside Shizuku’s private data directory | | upd | Argument passed to that script (likely meaning “update” or “start service”) | Enable (Tap "Build Number" 7 times in Settings
Shizuku has three major advantages over rooting:
Once you have successfully started the Moeshizuku Privileged API, you can use a variety of apps that leverage its power, such as:
When you run sh start.sh via ADB, the resulting process inherits the permissions of the shell user, which has significantly more power than a standard app but less than root .
Despite the apparent simplicity, users often encounter errors when trying to start Shizuku, especially the dreaded Permission denied error. Here are the most common reasons and solutions.
Enable (Tap "Build Number" 7 times in Settings > About Phone). Enable USB Debugging in Developer Options. 2. Connect Your Device Connect your phone to your PC via USB. Open a terminal/command prompt on your computer. Verify the connection by running: adb devices . 3. Execute the Command Copy and paste the following command into your terminal:
(run from PC)
A typo of start.sh , the native script file built by developers to spin up the Shizuku backend server. upd
Running a shell script stored in /android/data/ might raise red flags for the security-conscious. Let’s address the risks.
If you do not have a computer, you can run this command locally using a terminal emulator like Termux alongside Android's Wireless Debugging feature.
On your Android device, go to and tap Build number seven times. Then, go to Settings > System > Developer options and toggle on USB debugging . 2. Set Up ADB on Your Computer
: Tells your computer to open a shell session on your connected Android device.
| Part | Meaning | |------|---------| | adb shell | Open a shell on the connected Android device | | sh | Execute the POSIX shell | | /storage/emulated/0/Android/data/moe.shizuku.privileged.api/startsh | Path to a script inside Shizuku’s private data directory | | upd | Argument passed to that script (likely meaning “update” or “start service”) |
Shizuku has three major advantages over rooting:
Once you have successfully started the Moeshizuku Privileged API, you can use a variety of apps that leverage its power, such as:
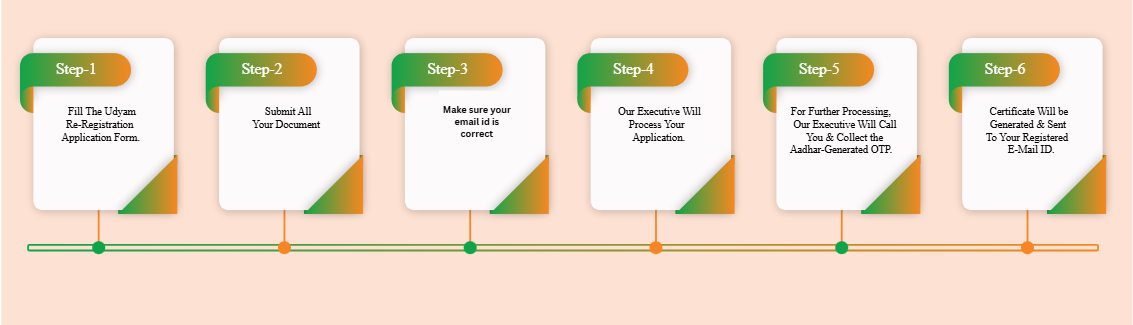
UDYAM REGISTRATION PROCEDURE - FAST AND EASY..!!

Lokesh Rawat, From Madhya Pradesh
Recently applied MSME Certificate
INTERNAL LINKS